Our Stevie Girl turns ONE in less than two weeks and I’m kind of just like….whuuuu even just happened?! This past year seemed to blow by in one giant blur spending lots of long days at home through this pandemic. But Stevie has been our little smiling ray of sunshine around here and brought so much joy to our home. She is so giggly, sweet and snuggly and we’re just soaking. her. up.
Because of Covid (and Stevie being born in the midst of all of it), most of our friends have not been able to spend much time getting to know Stevie and how awesome she is. So we decided to use the celebration of her first birthday to gather everyone together for a little street party! We have all of our friends kids coming, so I wanted to come up with a special party favor to send home with them. Because they all range in age from one to nine years old I struggled to find something that would be fun for all. After searching high and low I decided to find some version of friendship bracelets.
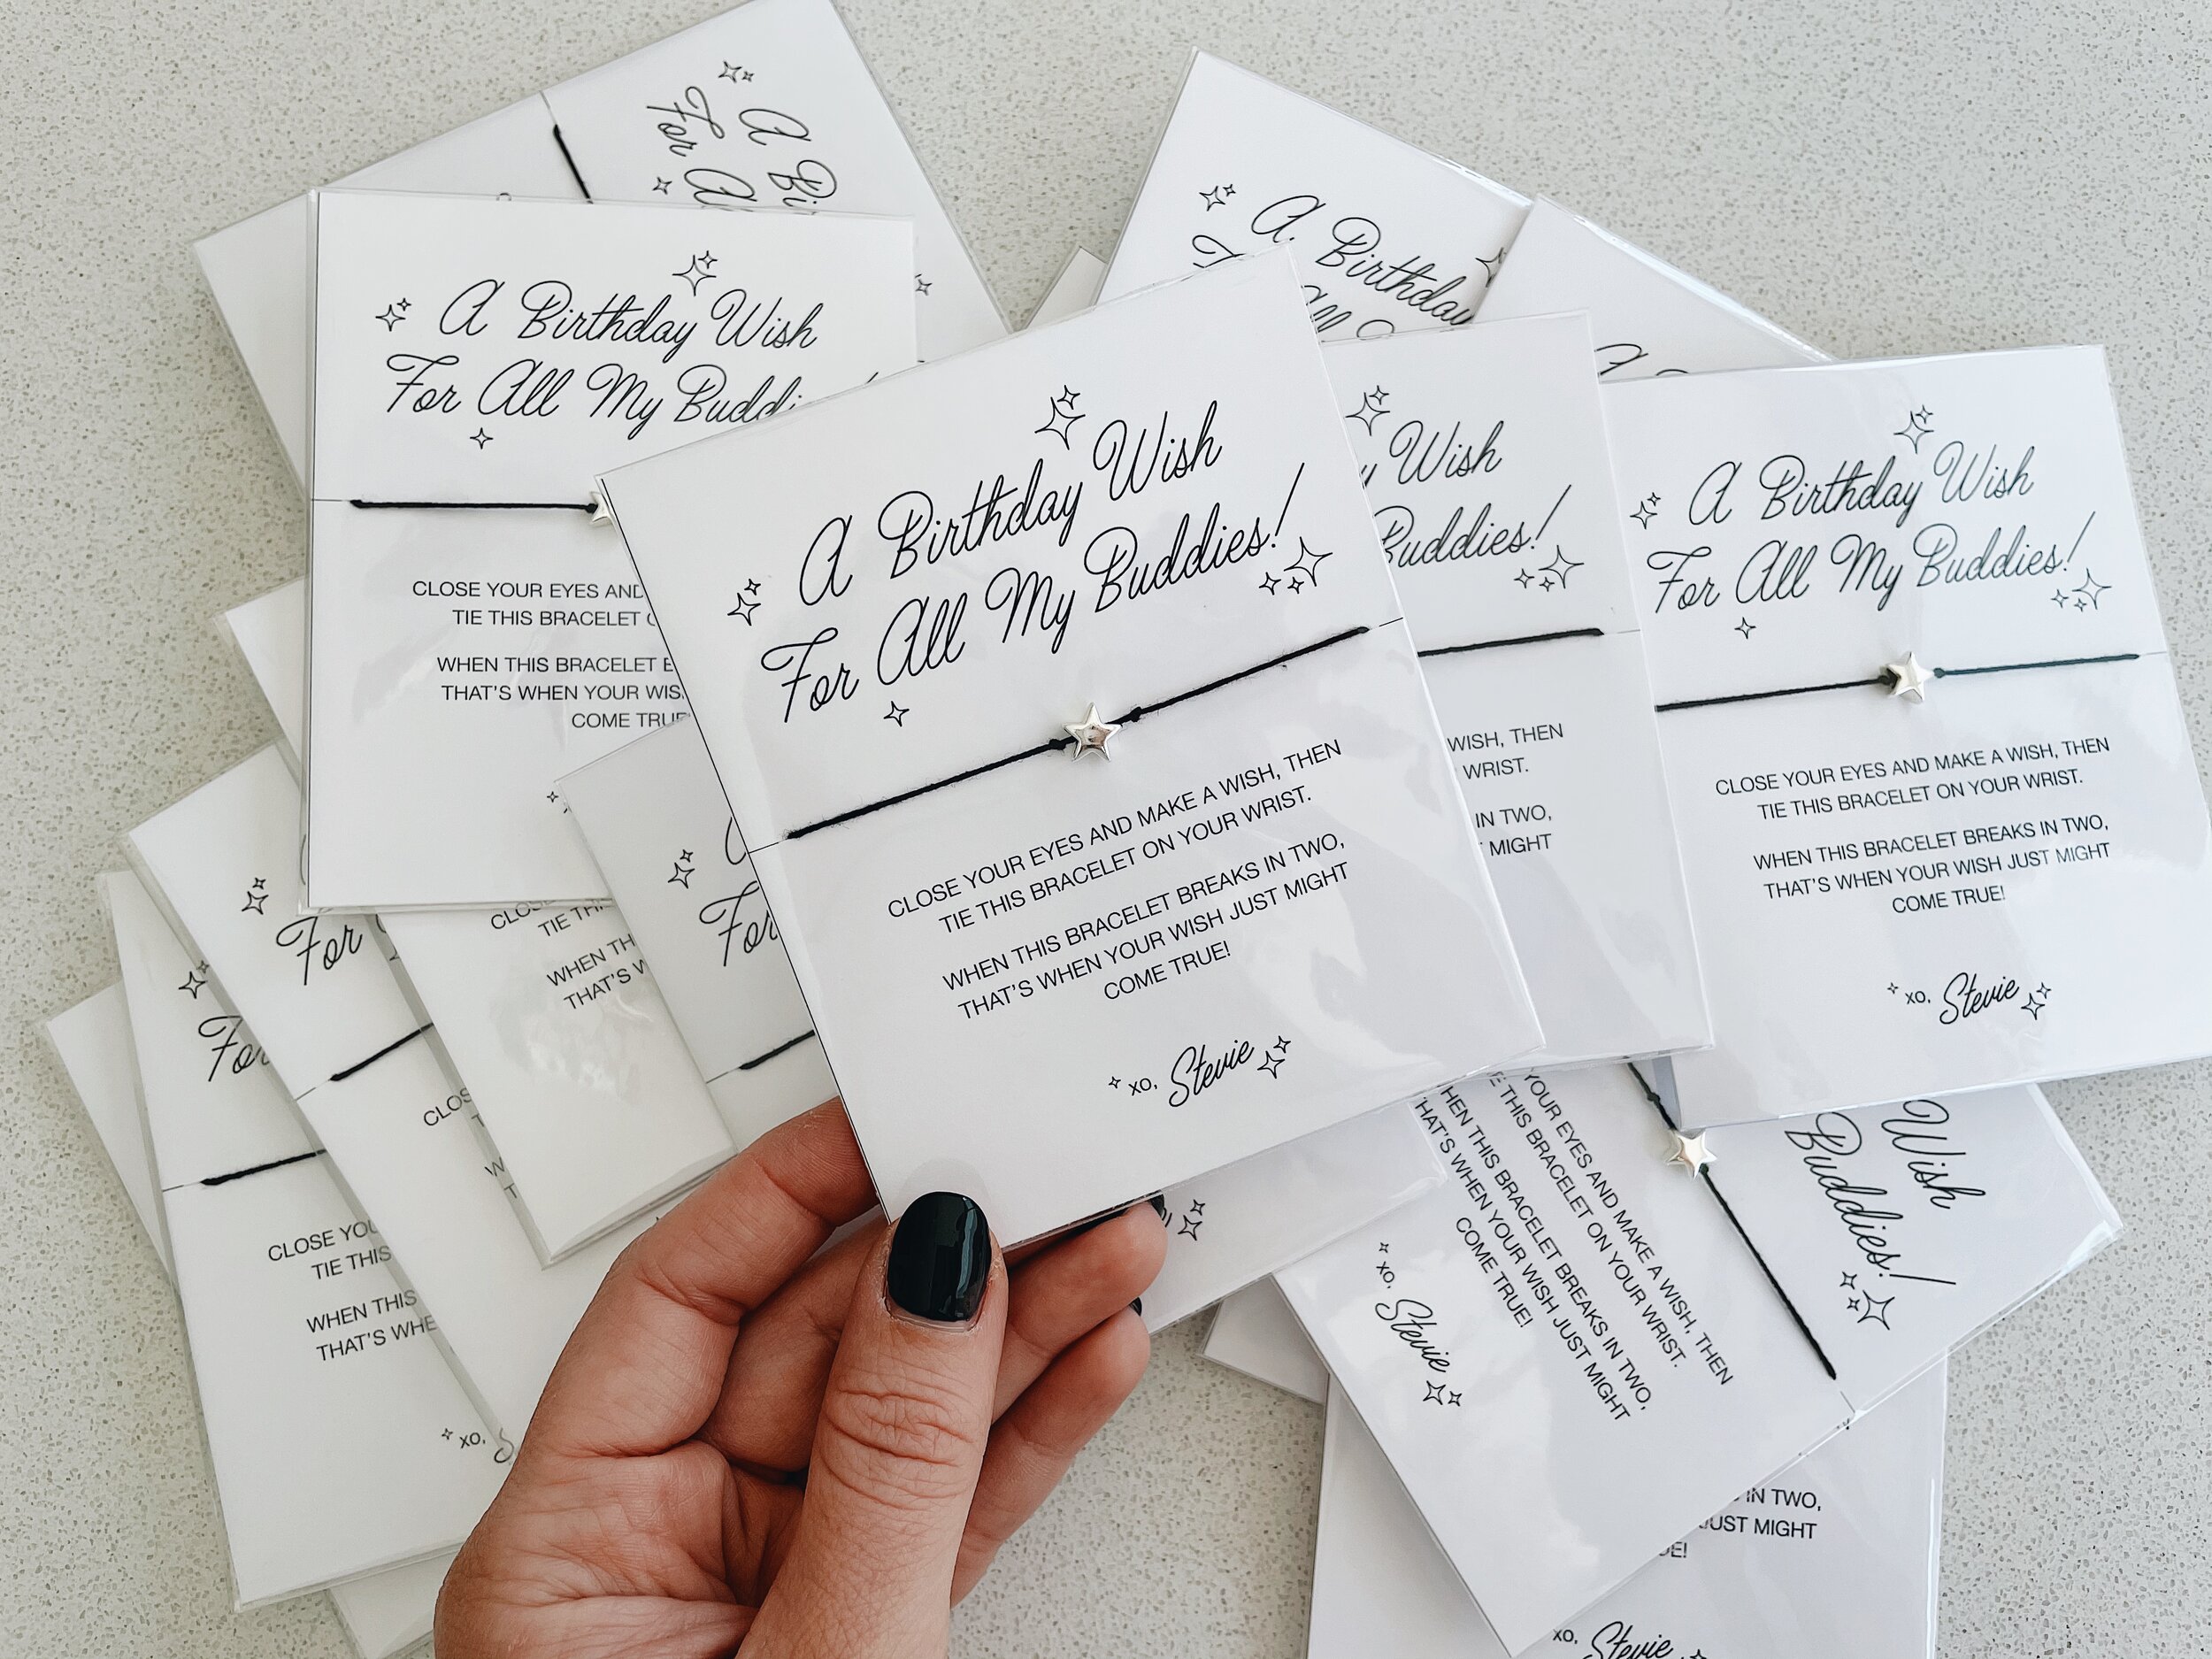
I remembered seeing these little wish bracelets on Catbird’s site and thinking it was such a sweet idea! Obviously kids don’t need anything fancy and I only wanted to spend a couple bucks TOTAL on each kid, so I came up with these inexpensive bracelets that work for both boys and girls and kids of all ages. They are incredibly easy to make, cost less than $1 per bracelet, and are easy to customize in so many different ways. Switch out the string color, the bead, or customize the bracelet card to make it 100% your own! Okay, let’s do this!
HERE’S WHAT YOU NEED:
Silver Star Beads
Crochet Thread
Heavy Card Stock
Washi Tape
Clear Plastic Sleeves
STEP 1: Measure and cut the crochet thread into 10 inch pieces.
STEP 2: Tie a knot in the middle of each thread and string on one bead. Then tie another knot on the other side of the bead.
STEP 3: Print out THIS bracelet card design on heavy card stock OR get creative and make your own custom cards! Carefully cut them out and cut small slits on each side.
STEP 4: Wrap the bracelet around the card, using the side slits to keep it centered, and then secure it in place with a small strip of washi tape on the back.
STEP 5: Slide the bracelet card into the clear plastic sleeve and THAT’S IT!
Coston has been wearing one for 2 weeks now. It’s held up great and he’s obsessed! It’s so cute and I can’t wait to share these with our friends. I rounded out the favor bags with a giant bouncy ball, a punch balloon, some cute stickers, and a ring pop! Happy birthday Stevie Girl!


